
Dual fixation at 90°
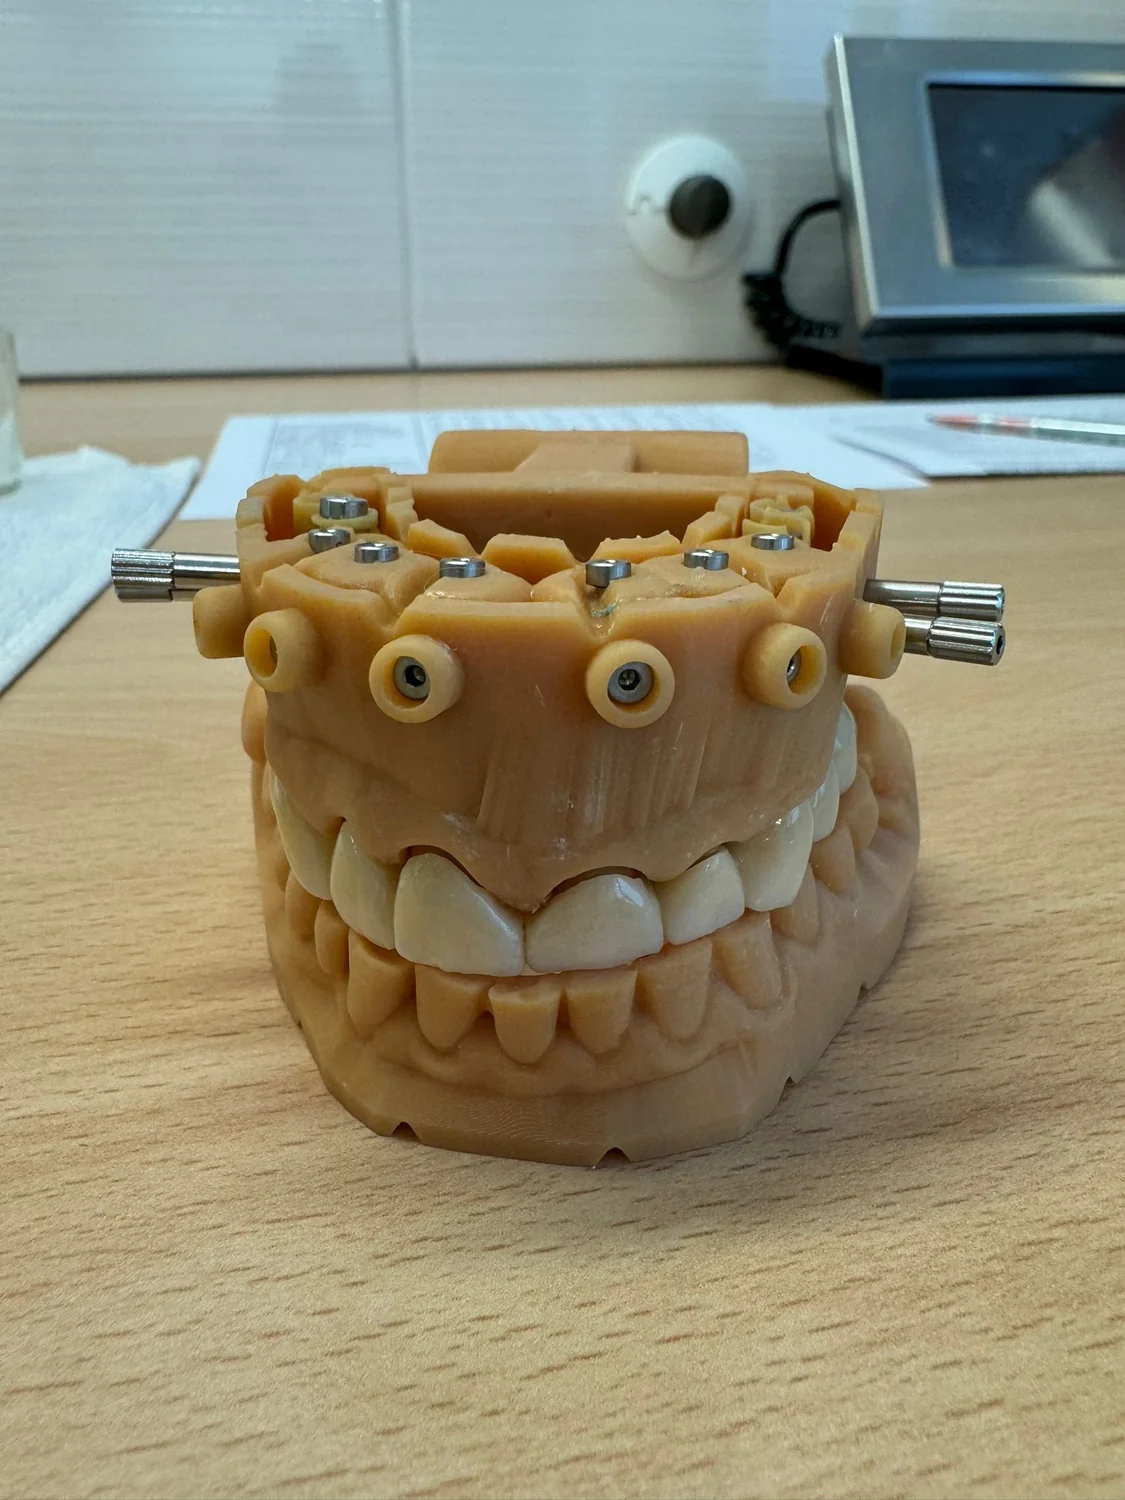
The lateral and bottom fixation points act along different axes, limiting both translation and rotation of the die.
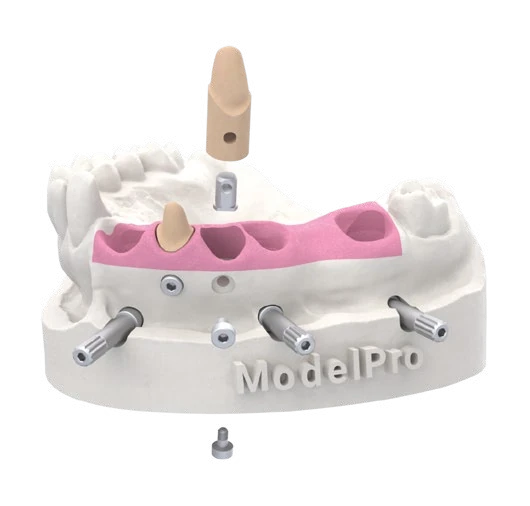
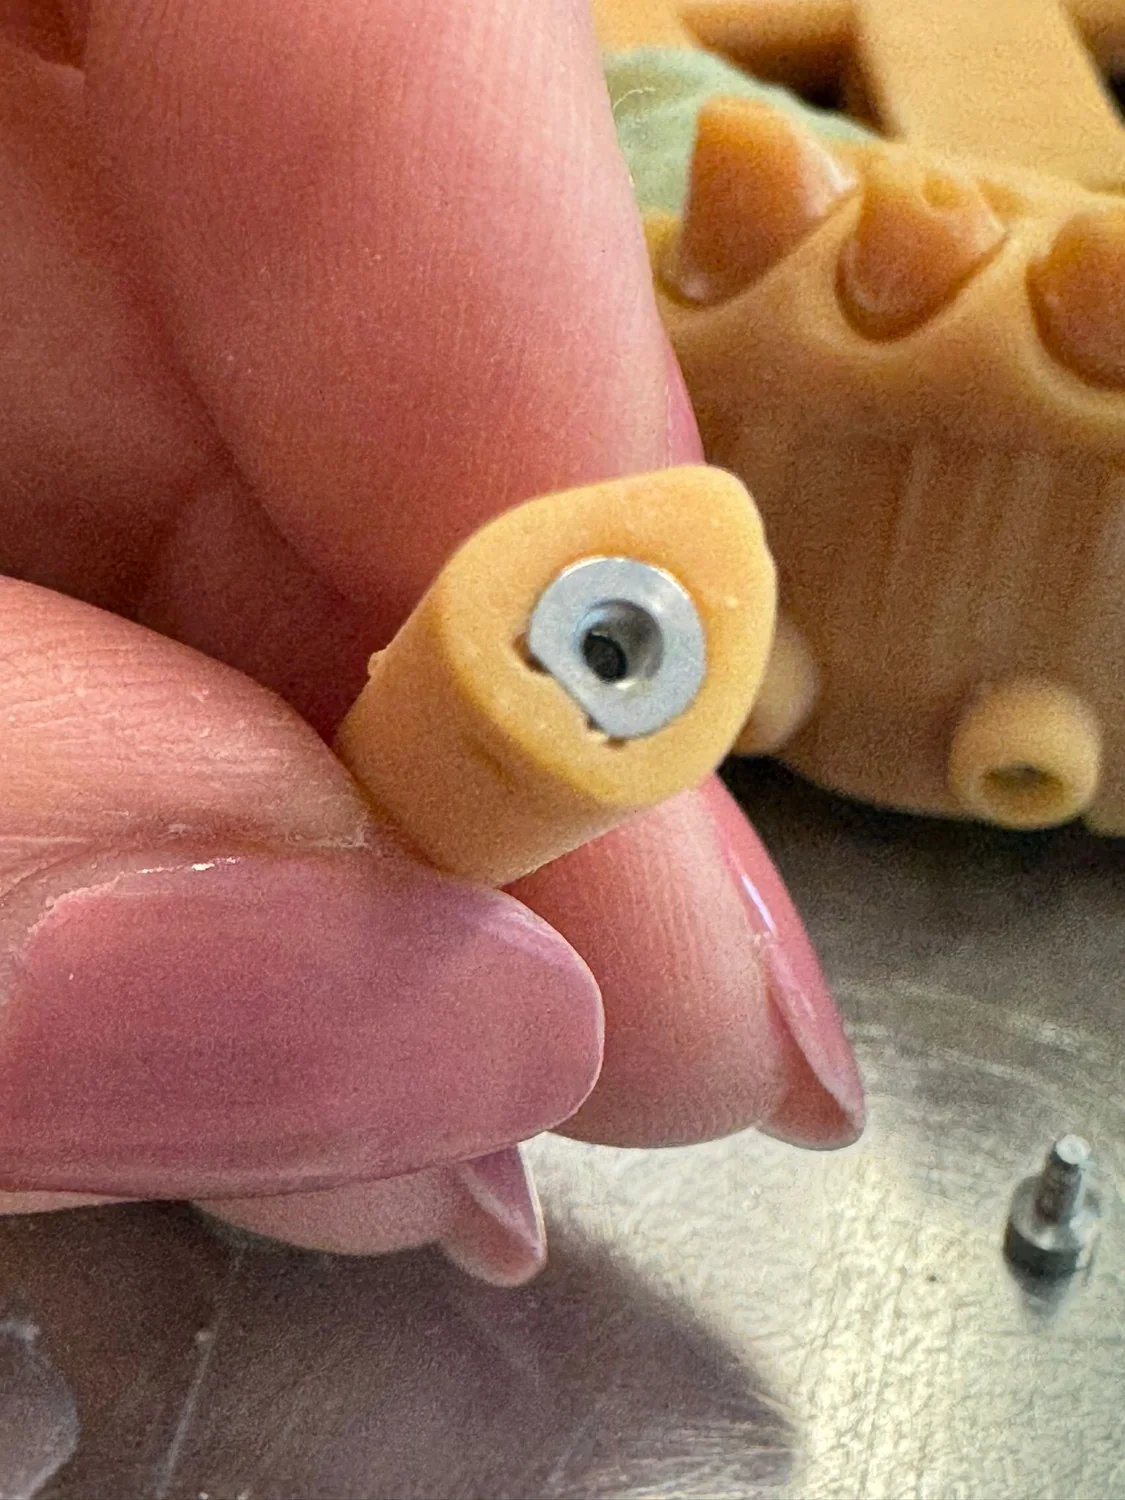
A precise removable die is a small component in a 3D-printed model, but it has a major influence on contacts, preparation margins and workflow repeatability. Stump Die 3D from IPD combines geometry created in ModelPro with a metal insert and dual mechanical fixation at 90°, so that the die returns to the same defined position after removal.
Why Stump Die 3D was developed
IPD describes the problem very practically: in a precise printed model, it is not enough for the die simply to fit into an opening. The system needs to limit micromovement, rocking and rotation, because a change in position can affect the relationship between the preparation margin and the contact points of adjacent teeth. Stump Die 3D therefore uses a defined insert geometry and two mechanical fixation axes.
The lateral and bottom fixation points act along different axes, limiting both translation and rotation of the die.
The unidirectional plane helps ensure that the die can be inserted only in the correct orientation defined by the model design.
The greater width at the base gives the technician both visual and mechanical confirmation of complete seating.
IPD emphasises the reduced size so that the solution can also be used with smaller dies.
The quick thread reduces handling time during repeated checks and work with the model.
Three components, one clear function
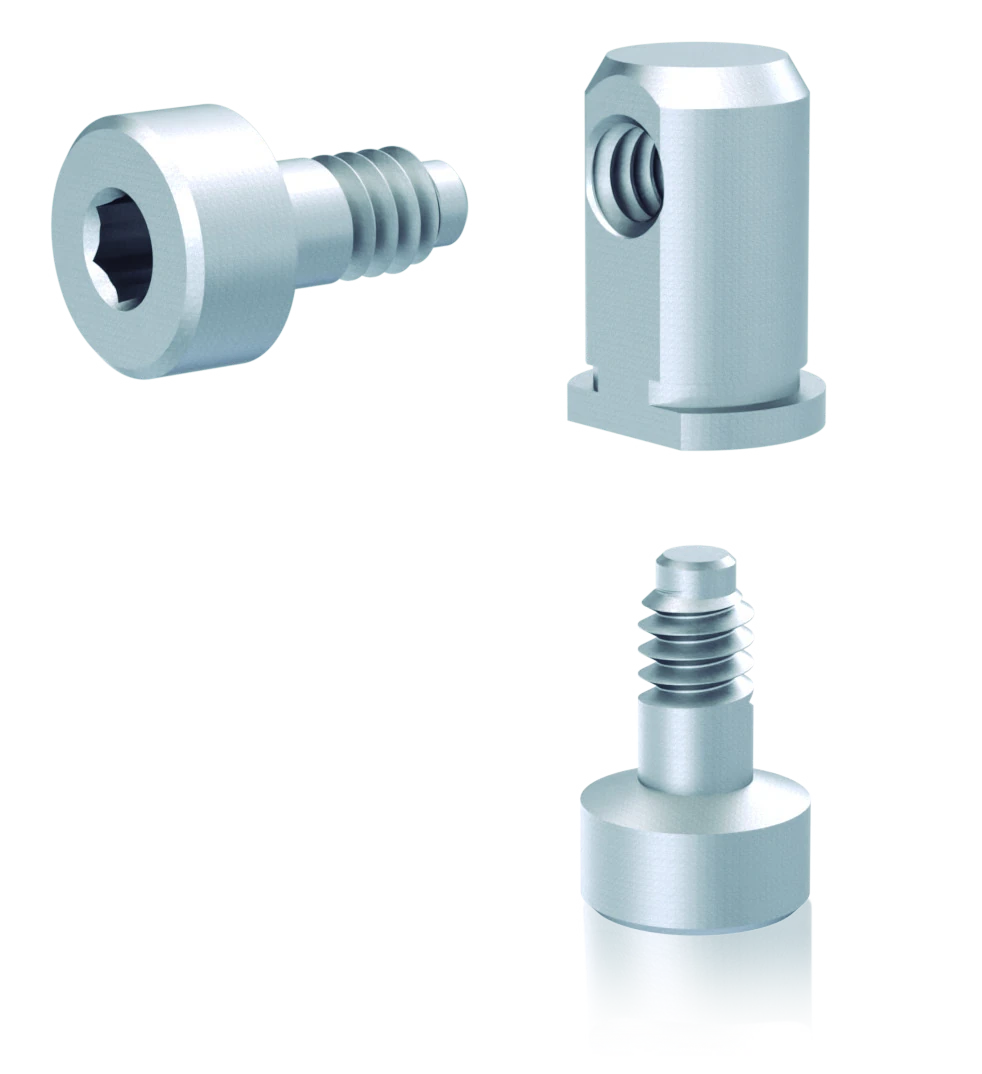
The system is modular. The metal body remains the defined interface between the 3D-printed die and the model, the long screw secures the die laterally and the short screw fixes it from below. This combination of two axes is what distinguishes Stump Die 3D from simple friction-fit insertion.
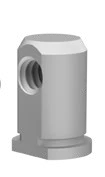
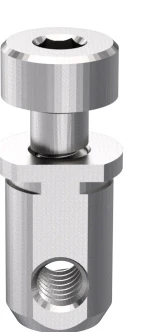
Defines the axis and position of the die. The lateral thread receives the long fixation screw, while the base works with the bottom fixation.
IPD/KA-ST-01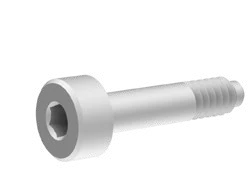
The long lateral screw forms the first fixation axis. Its quick thread facilitates repeated opening and closing of the working position.
IPD/KA-ST-02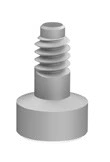
The bottom screw closes the second fixation axis and helps keep the die at the correct height and orientation.
IPD/KA-ST-03| Configuration | Product | Quantity | Reference IPD |
|---|---|---|---|
| 1 | Body | 1 pc. | IPD/KA-ST-01 |
| 2 | Side Screw (long) | 1 pc. | IPD/KA-ST-02 |
| 3 | Low Screw (short) | 1 pc. | IPD/KA-ST-03 |
| 1 + 2 + 3 | Kit body + 2 screws | 1 set | IPD/KT-ST-00 |
| 1 + 2 + 3 | Kit body + 2 screws | 10 sad | IPD/KT-ST-10 |
Printer calibration
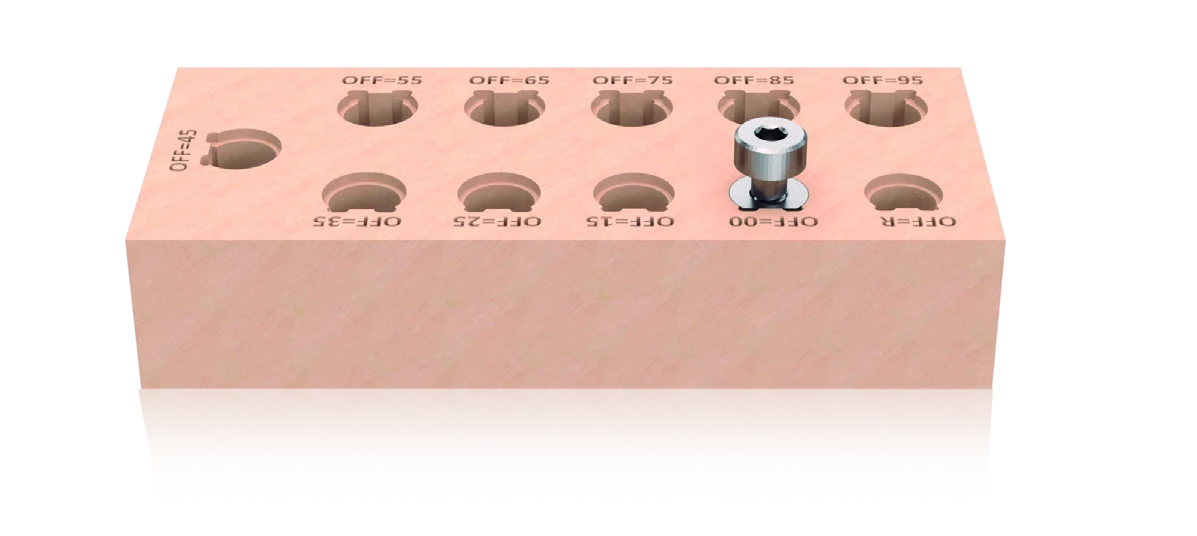
Every combination of printer, resin, layer thickness and post-processing can produce slightly different dimensional behaviour. IPD therefore uses Stump Die 3D master file, which makes it possible to verify actual print resolution and, based on the result, select the corresponding OFF value in ModelPro. The aim is not to “force” a tight fit, but to find a repeatable setting at which the insert seats correctly while the die remains removable.
ModelPro workflow
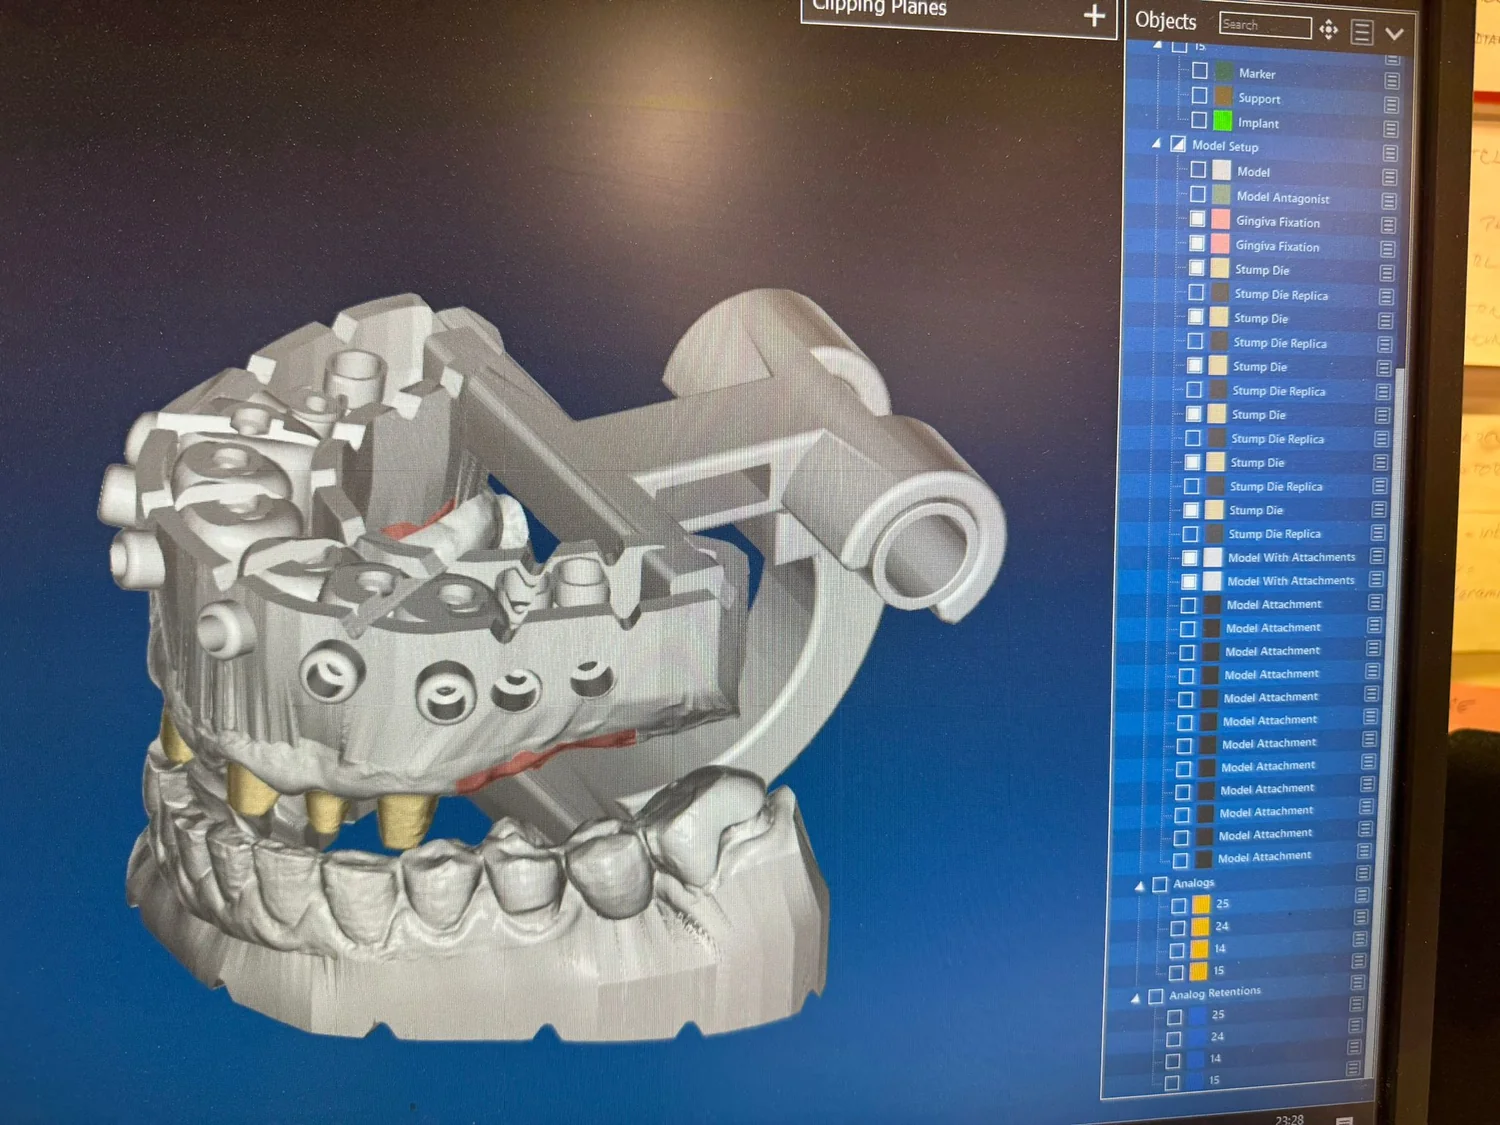
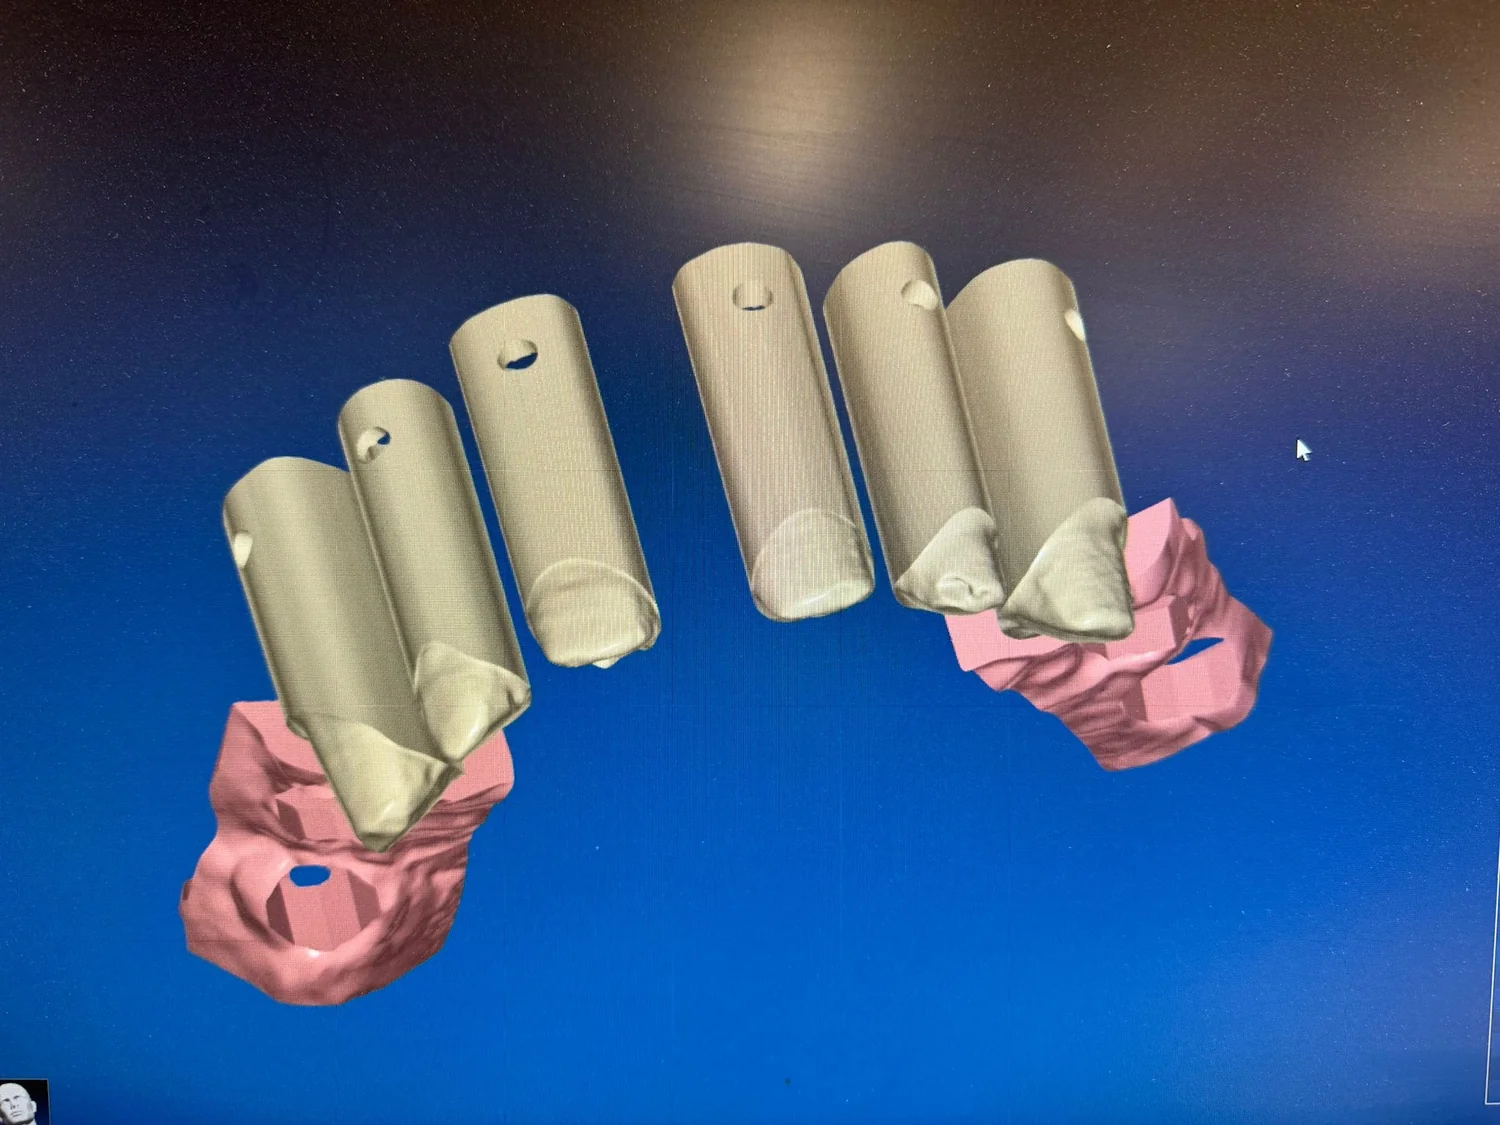
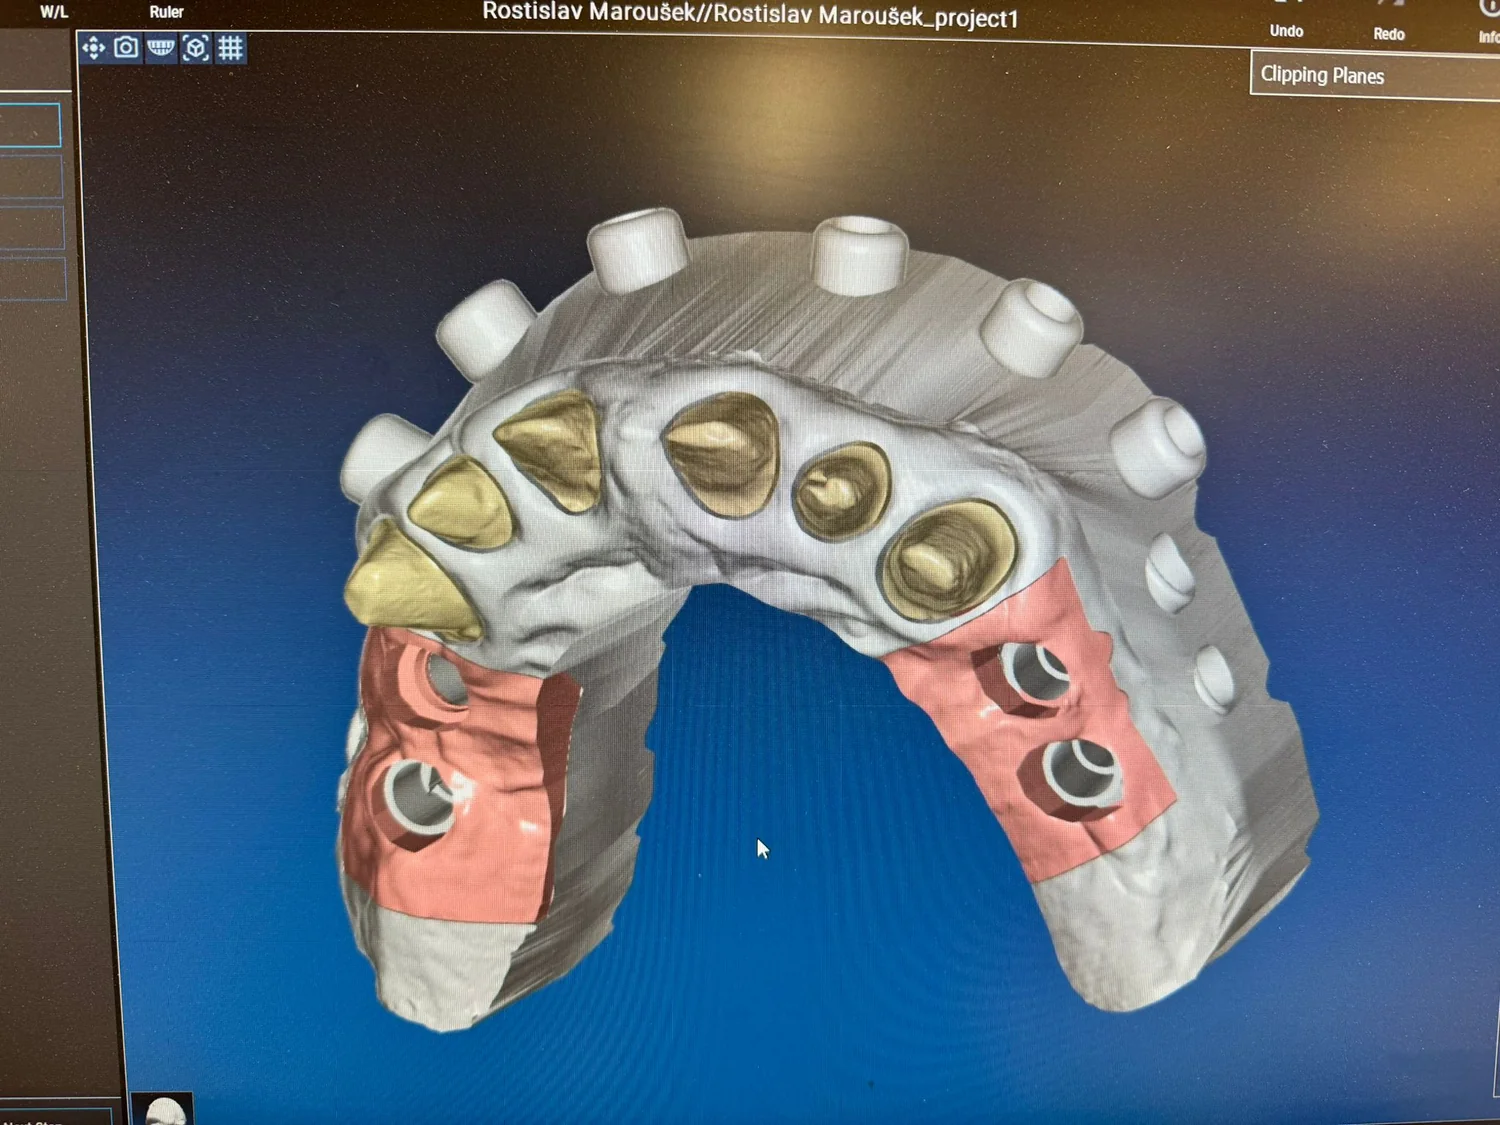
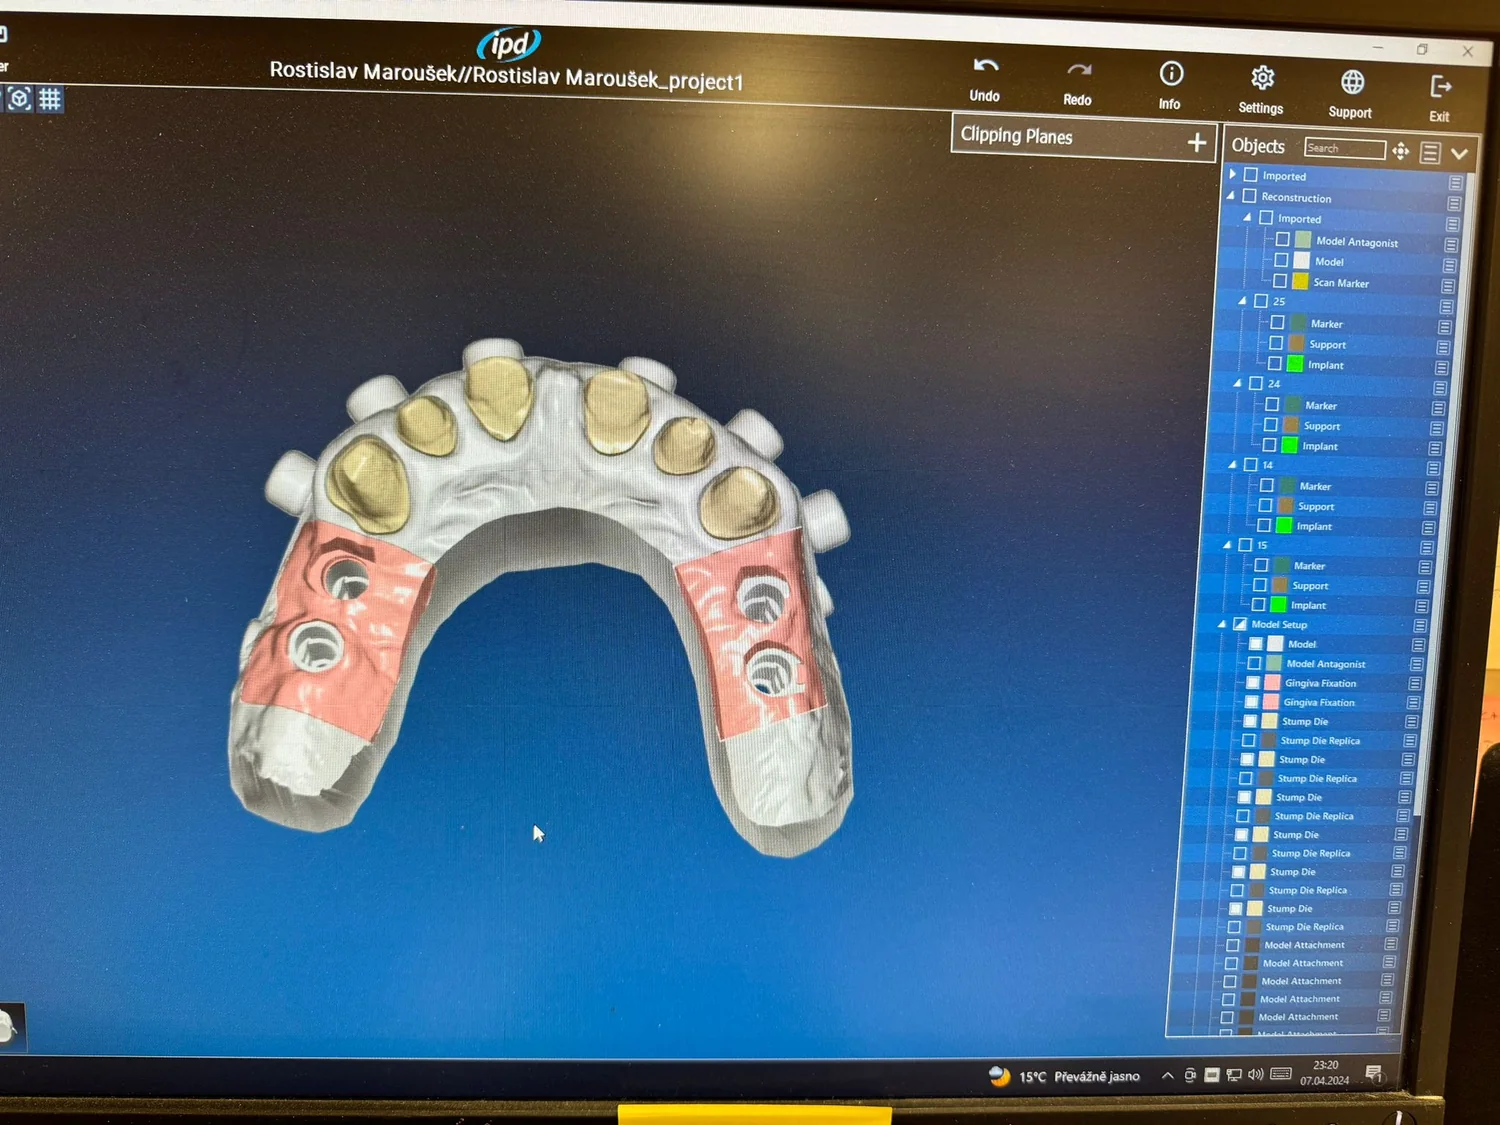
ModelPro includes tools for die preparation, margin lines, path of insertion, Stump Die 3D, and control of insert rotation, position, angle and offset. The supplied working photographs show this logic in a real combined model as well.
Load the upper / lower scan and any related STL files. Orient, trim and, if necessary, repair the model so that the mesh is closed and ready for construction.
Select the teeth that will become removable dies. Margin lines can be defined or, depending on the workflow, imported from CAD. Check the path of insertion.
ModelPro places the insert system into the die. The technician can control its rotation, position, angle and offset so that the mechanics respect the available space in the model.
Print the calibration master and select the OFF value according to the actual fit. This adapts the workflow to the specific printer and material.
Print the model and dies, complete the standard post-processing and seat the metal insert. Then apply the lateral and bottom mechanical fixation.
Remove and reseat the die several times. Check complete seating, the preparation margin and contacts with adjacent teeth. This is the real test of the system’s practical value.
From the supplied working archive
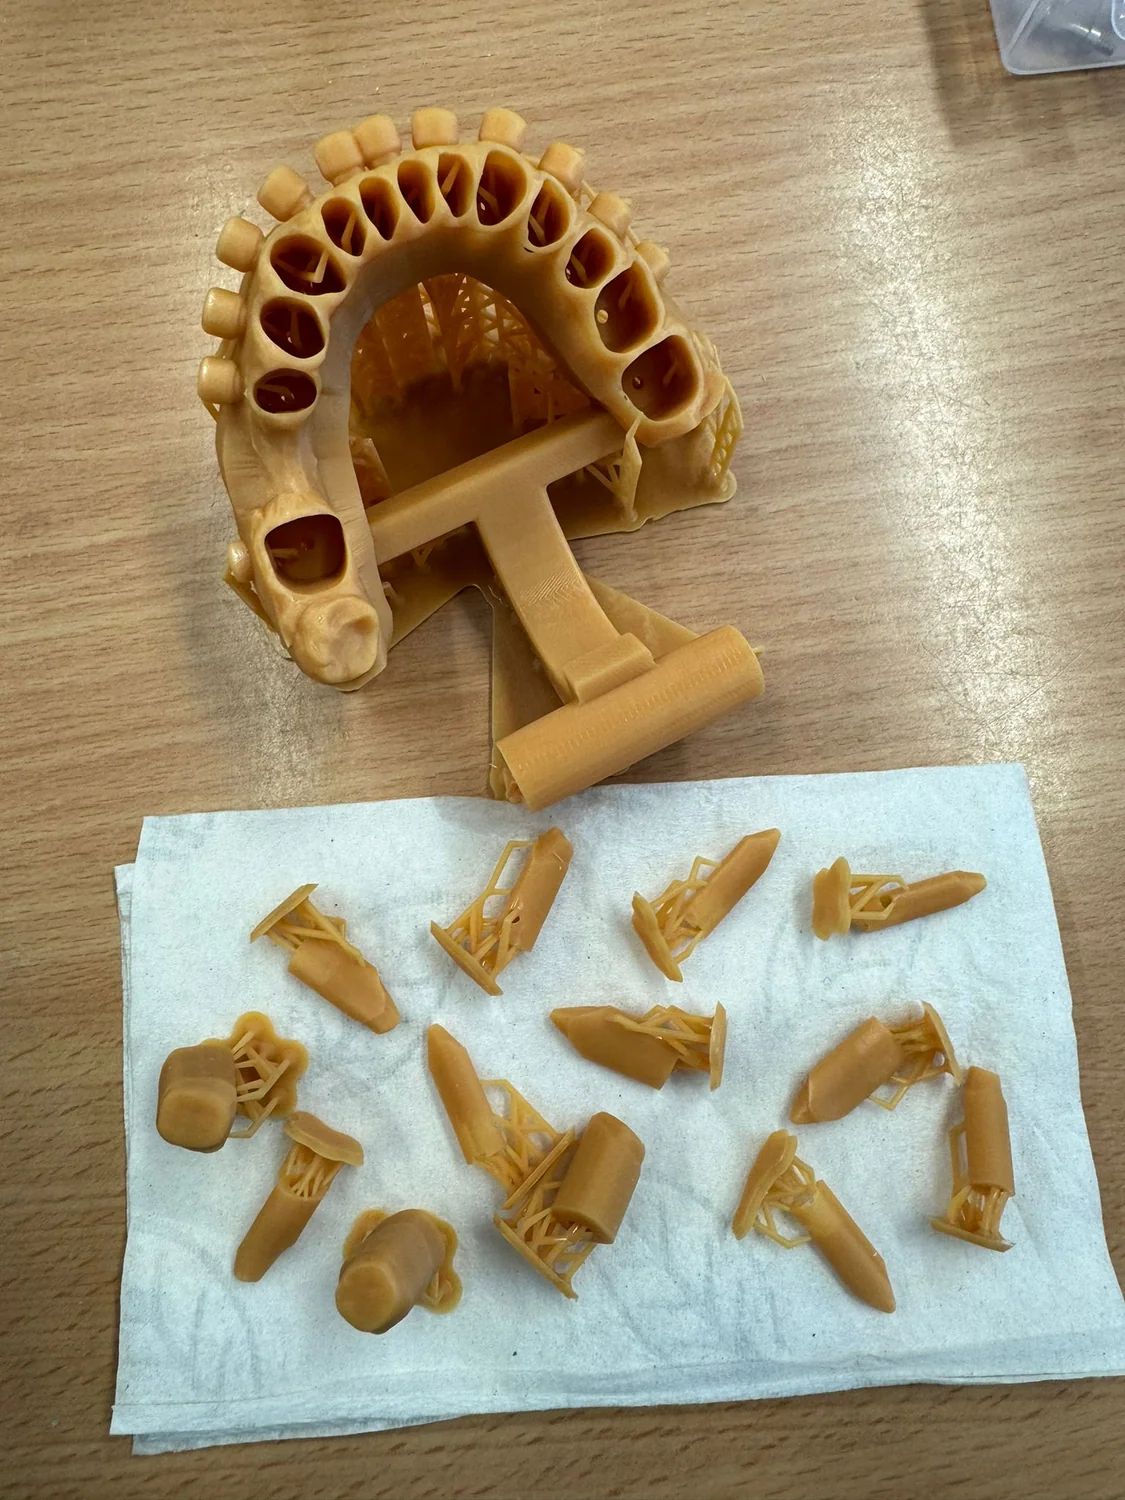
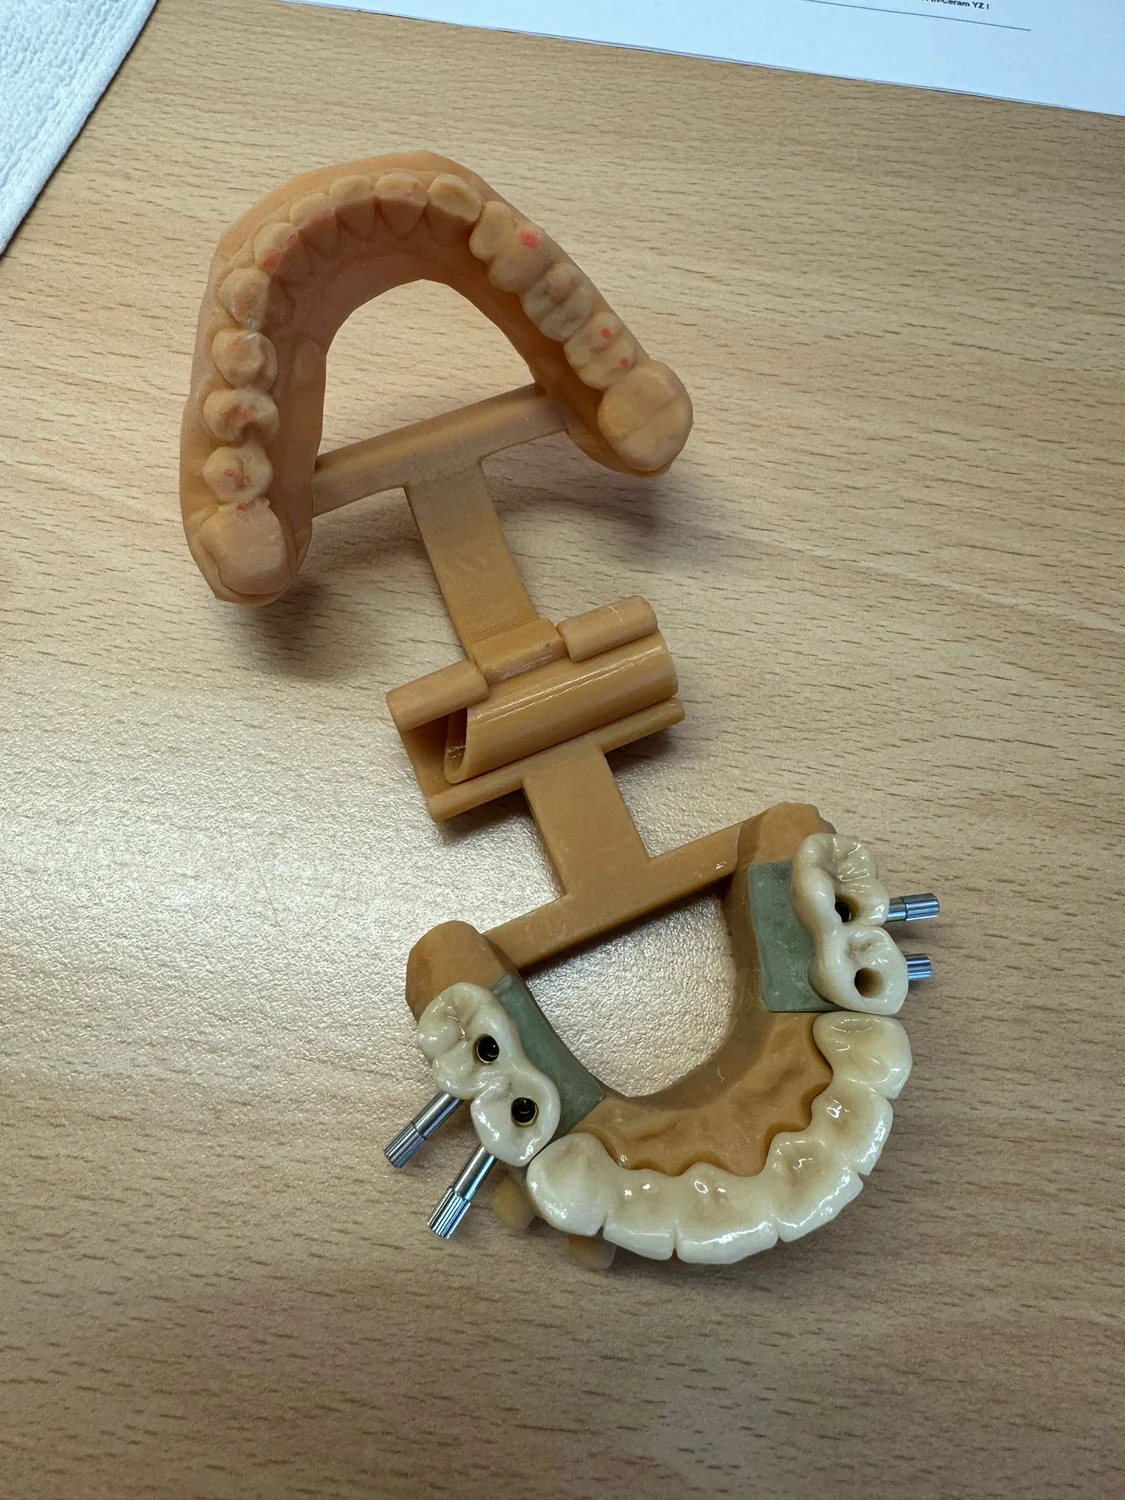
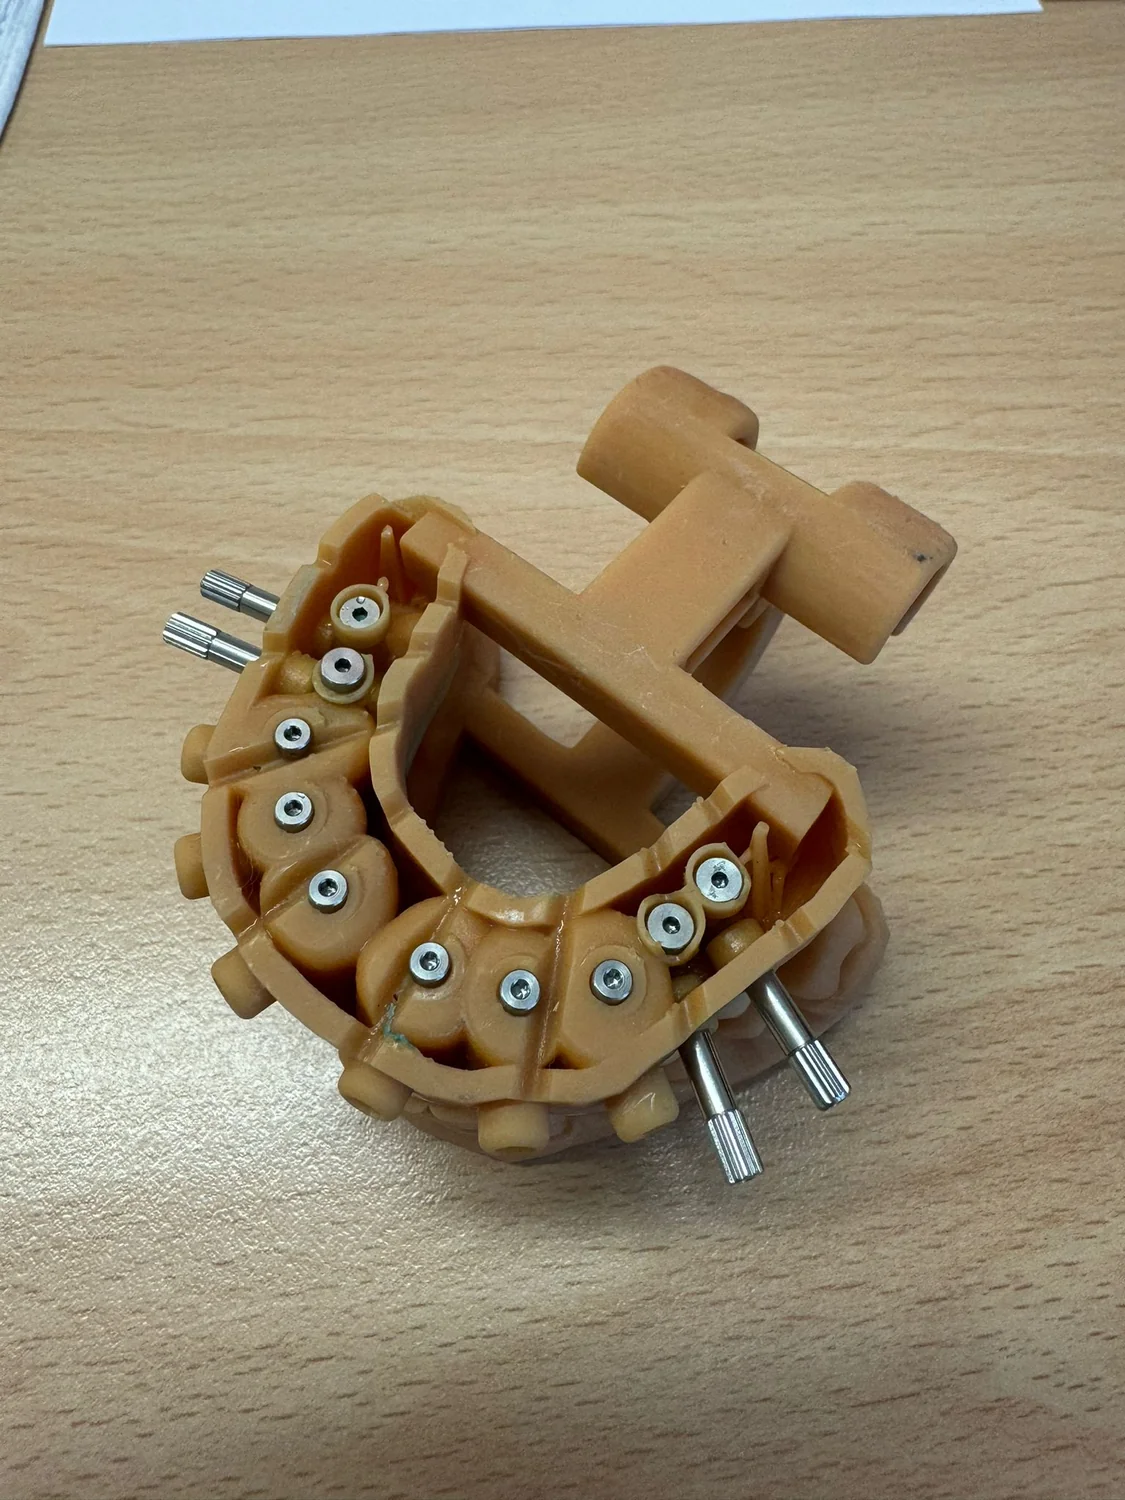
The photographs in the archive are not sterile product renders. That is precisely why they are valuable for presentation: they show how the system looks on a real working model combining removable dies, soft gingiva, fixation elements and other digital components.
Material considerations
The supplied archive also contains screenshots of two resins. We use them only as an illustration of different material functions, not as an official IPD recommendation for Stump Die 3D. The specific resin, exposure profile and post-processing must be validated for the printer and laboratory workflow being used.
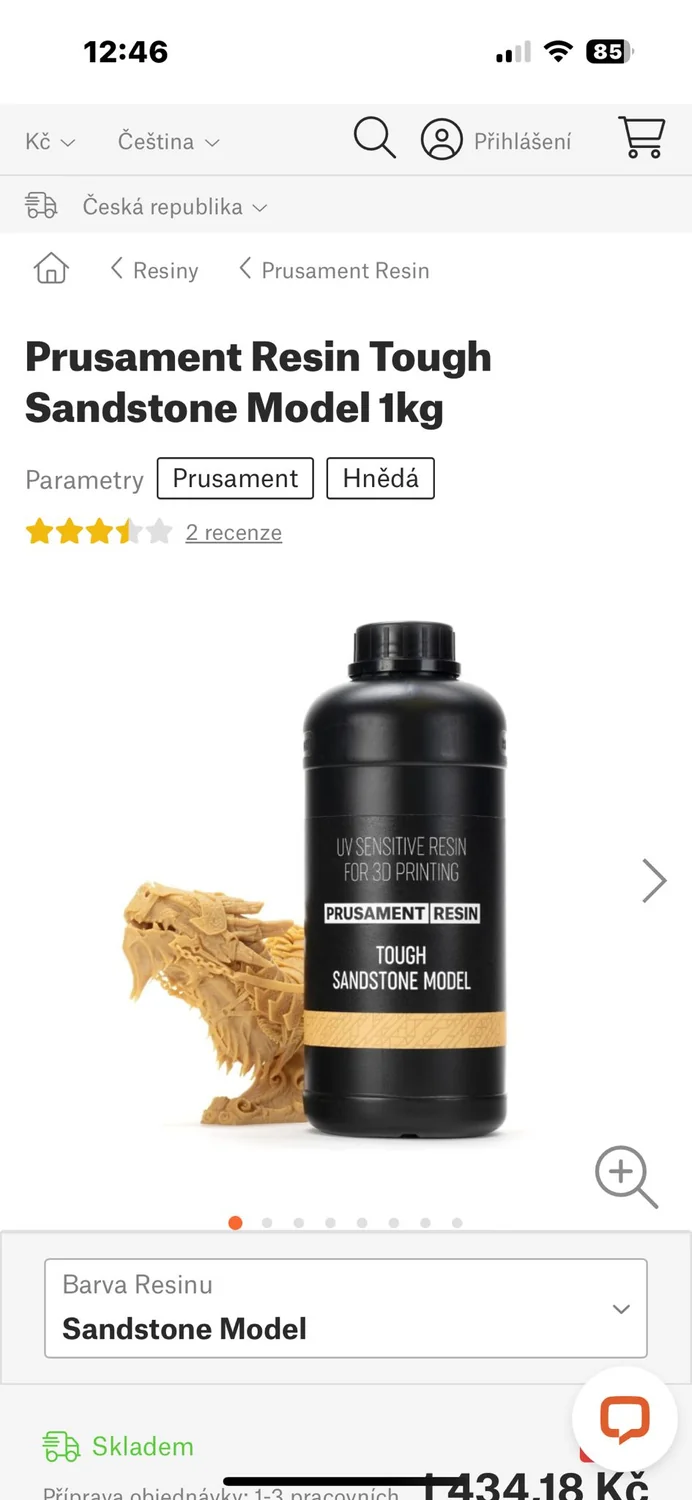
For the model itself, dimensional stability, detail reproduction and repeatability of the insert fit after post-processing are practically important.
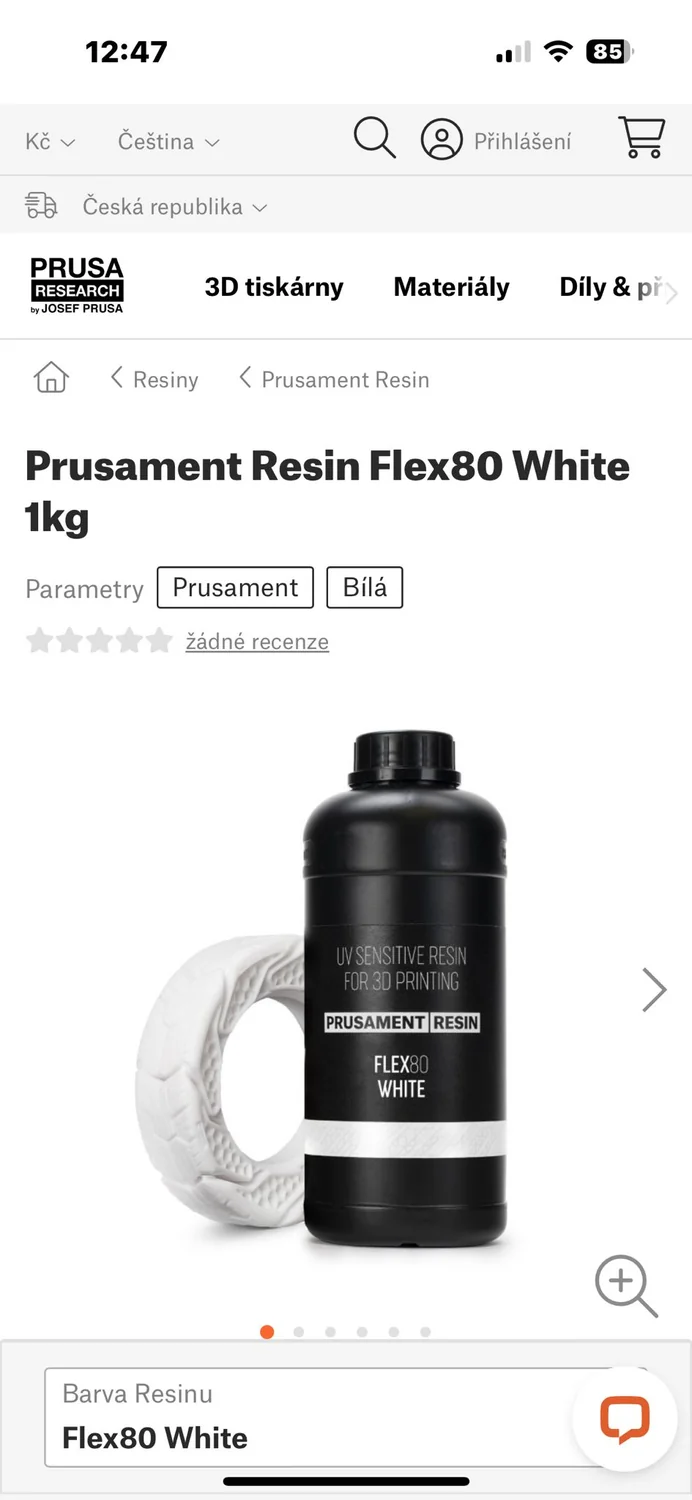
In combined models, soft gingiva can be a separate module. Its properties differ from the requirements for the rigid model and die.
FAQ
Friction alone can allow micromovement or slight rotation. In crown work, this can become visible in the contacts or in the accuracy of repeated seating. Stump Die 3D adds a defined metal insert and dual mechanical fixation.
The long lateral screw and short bottom screw secure the system along two different axes. This limits lateral play as well as unwanted rotation or vertical displacement.
According to the supplied IPD documentation, cement or liquid adhesives are not recommended for definitive fixation. The construction is designed for a tight mechanical fit that is fine-tuned through the correct printing offset.
It is the offset used for the fit geometry. The Stump Die 3D Master helps determine how the specific printer and resin behave in practice and select a setting that provides correct seating without unwanted play.
No. IPD presents it specifically as an extension of ModelPro beyond implantology, for digital restorative applications and removable prepared dies in 3D-printed models.
Complete seating of the insert, repeatability of position after several removal/reinsertion cycles, the preparation margin, contact points, stability of both screws and whether the fixation mechanism requires excessive force.
Prepared from the supplied IPD materials Stump Die 3D and Digital Innovations / ModelPro, working photographs from the archive and the current official IPD ModelPro page: ipd2004.com · ModelPro.
Exklusiv Dent · ModelPro support
We can help with the ModelPro workflow, selection of the Stump Die 3D kit and the first printer calibration test.
I am a dental professional within the meaning of Section 2a of Czech Act No. 40/1995 Coll., on advertising regulation. I confirm that I am authorised to access content intended for professionals.